
February Newsletter
- hannahshometeam
- Feb 11
- 2 min read


Hello everyone!
After that recent freeze, many of us are enjoying the return of milder temperatures. February may be short, but it brings a good excuse to enjoy something sweet with Valentine’s Day right around the corner.
Don't forget to change your AC filter!
Caring for Plants After a Freeze 🌱
With colder temperatures and recent freezes, some outdoor plants may be looking a little worse for wear. But don't fret, because many plants are more resilient than they look.
A few simple tips:
Avoid pruning right away; it’s best to wait until temperatures stabilize to see what recovers.
Once it warms up, give plants a light watering to help them bounce back.
Remove any obviously dead or mushy growth AFTER the risk of freezing has passed.
Adding mulch can help protect roots if we see another cold snap.
A little patience and TLC now can make a big difference come spring.
Lunar New Year 🧧
February 17th is the start of the Lunar New Year, and we love the spirit of reflection and optimism that the holiday brings. Each year is represented by one of 12 zodiac animals, and 2026 is the Year of The Horse. The Horse embodies enthusiasm, speed and fieriness, bringing a year focused on bold moves and exploration. How to Say Happy New Year in Chinese:
新 | 年 | 快 | 乐 |
Xīn | nián | kuài | lè! |
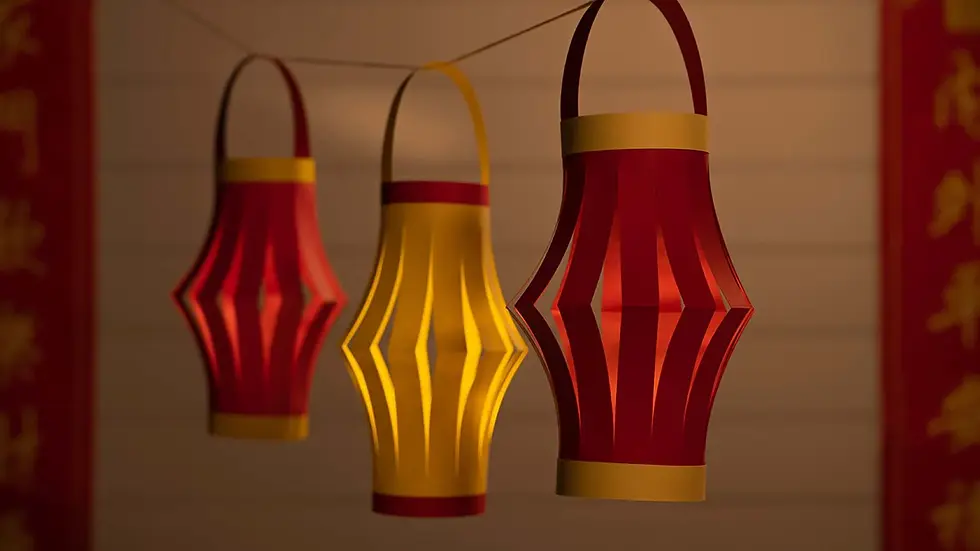
DIY Paper Lanterns 🏮
Supplies:
Red construction paper (8.5x11 works great)
Scissors
Glue stick or tape
Gold markers or stickers (optional)
Ribbon or string (optional for hanging)
Instructions:
Fold the paper in half lengthwise (hot dog style).
With the folded edge at the top, cut evenly spaced vertical slits starting about 1 inch from the top and stopping about 1 inch before the bottom. Don’t cut all the way through!
Unfold the paper.
Decorate with gold designs, the zodiac animal, or simple symbols for luck.
Roll the paper into a tube shape (short ends together) and secure with glue or tape.
Gently press down on the top to make the slits bow outward.
Add a strip of paper or ribbon at the top for a handle if you’d like.
For extra fun:
Glue yellow tissue paper inside to make it look like it’s glowing.
Make several in different sizes and hang them together.
Local Events You'll Love ❤️
Menopause The Musical: Feb 11-15 @ The Alhambra
Touring Eden: Landscapes and the Shaping of American Identity: Feb 11 - May 31 @ The Cummer Museum
Mrs. Doubtfire: Feb 11-15 @ Jacksonville Center for the Performing Arts
Jacksonville Chocolate, Wine & Whiskey Festival: Feb 21 @ The Glass Factory 601 Myrtle Ave N, Jacksonville, FL 32204
The Magical Music of Harry Potter - Live in Concert: Feb 24 @ Jacksonville Center for the Performing Arts
We’re Here for You
We are so grateful that you are apart of our community. As always, if you ever need assistance with maintenance or have any questions about your home, please don’t hesitate to reach out. -Hannahs Home Team
1
Lightly Pack The Flour
Do not pack the flour into the measuring spoon. Fluff the flour and then sprinkle it into the tablespoons. You do not want to add too much flour to the lava cake batter as it’ll make the center firm.
2
Make Sure The Oven Is Hot!
Make sure the oven is fully heated before adding the ramekins inside. The high temperature helps the exterior of the cake bake faster than the inside. This leaves you with the exterior perfectly cooked while the chocolate lava filling stays gooey!
3
Use Room Temp Eggs
Use room temperature eggs, so they mix into the batter without over-mixing. Place your eggs in a bowl of warm tap water if they are cold.
4
Keep Your Eyes Peeled!
Keep a very close eye on the lava cakes in the oven as you do not want them to over bake. The center should still be jiggy.
Notes


1
Preheat the oven to 450F. Butter and lightly flour 6 (4- to 5-ounce) ramekins and place them on a baking sheet. You can use a muffin pan if you do not have ramekins.
2
Place the butter and chocolate in a microwave-safe bowl and microwave on high, stirring every 30-seconds until melted. Whisk together until smooth.
3
In a large mixing bowl, combine the eggs, egg yolks, sugar, and salt. Beat on medium speed until thick and pale yellow. Fold the chocolate mixture and flour into the egg mixture until well combined. Divide the batter among the prepared ramekins or the muffin pan.
4
Bake for 6 to 8 minutes or until the sides of the cakes are firm set but the center is jiggly. If you don’t have ramekins, they will take less time as the muffin pan is thinner than a ramekin. Start checking them after 5 minutes. Let the cakes cool for 1 minute.
5
Place a small dessert plate over the top of each ramekin (or the muffin pan) and carefully turn it over, inverting the cake onto the plate. Let stand for about 10 seconds, then remove the ramekin to unmold the cakes. Sift powdered sugar on top and serve immediately.
Instructions
½ cup unsalted butter (113g)
6 ounces bittersweet chocolate chopped (168g)
2 large eggs
2 large egg yolks
¼ cup granulated sugar (50g)
⅛ teaspoon salt
2 tablespoons all-purpose flour

Chocolate Lava Cake
Hannah Workman

Servings :
6 Cakes
Calories:
383
Prep Time
13 min
Cooking Time
8 min
Rest Time
1 min
Total Time
22 min


